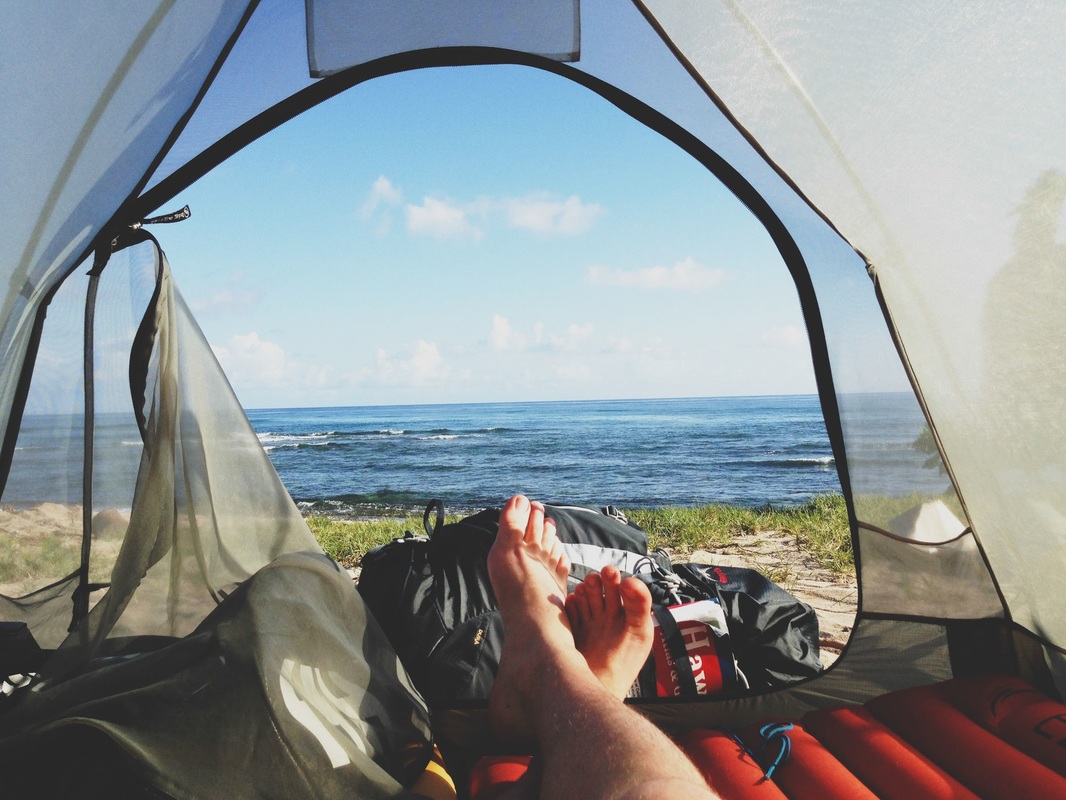
I'm James. This is my year of travel.


|
You can find the basic commands for DockSTARTer here, but there are a few additional things we’re going to do to customize our install.įirst, find the IP of your Raspberry Pi. Once you have powered on your Raspberry Pi, it will go through a quick setup process and then will reboot.Īfter the reboot, we can get into setting things up. 
I advise using an ethernet cable for your network connection. Also, attach all the cables you need, but be sure to plug the power cable in last unless you have a switch on your power cable.Īlso, I haven’t tested this with WiFi, so I don’t know if that will work. When that’s done, eject the Micro SD card and insert it into your Raspberry Pi. Select the extracted image and the Micro SD card and click “Flash!” When the download has completed, you’ll have a. We’ll use Raspbian Buster Lite, which you can download here. Since we’re using a Raspberry Pi 4, we need an operating system to start from. Once you’ve got everything ready, we can move over to our desktop and get started. Note: those product links are Amazon affiliate links. While this is technically optional, your Micro SD card will fill up fast if you start adding movies, music, TV shows, and that sort of thing. 
I’m using the 4GB RAM model, but any of them should work. Getting startedįirst things first, you’re going to need a few supplies: You can learn more about DockSTARTer here.įull list of native apps available in the sidebar here: īecause we’ve spent the past several months sort of ignoring Raspberry Pi users, we’re going to shift gears and setup a home server on a Raspberry Pi 4. You may choose to rely on DockSTARTer for various changes to your Docker system, or use DockSTARTer as a stepping stone and learn to do more advanced configurations. The main goal of DockSTARTer is to make it quick and easy to get up and running with Docker.
0 Comments
Leave a Reply. |
AuthorWrite something about yourself. No need to be fancy, just an overview. ArchivesCategories |
 RSS Feed
